Smart thermostat installation is one of the most effective ways to boost home energy efficiency and comfort. Whether you want to lower your utility bills, automate your climate control, or take the next step in your smart home journey, installing a smart thermostat is a game changer. But is it really as easy as it sounds? This guide walks you through everything—practical steps, common pitfalls, costs, and proven tips—grounded in the latest market stats and real-world user experience.
Key Takeaways
- Smart thermostat installation typically saves 10–15% on heating and cooling, with annual savings of up to $145.
- DIY installation is possible, but wiring compatibility, C-wire requirements, and HVAC system differences cause common issues.
- Most top brands (Nest, Honeywell, ecobee, Amazon) are Wi-Fi enabled, but features, support, and installation needs vary.
- What Is Smart Thermostat Installation and Why Do It?
- Step-by-Step Guide to Smart Thermostat Installation
- Advanced Analysis & Common Pitfalls
- Conclusion
- Frequently Asked Questions
What Is Smart Thermostat Installation and Why Do It?
Smart thermostat installation means replacing your existing thermostat with an internet-connected device that allows remote scheduling, learning, and automation of your home’s temperature.
The “smart” part goes far beyond Wi-Fi connectivity: leading models like Google Nest, Honeywell, and ecobee use AI to optimize schedules, can be controlled from anywhere with your phone, and may even learn your habits over time. In 2025, the global smart thermostat market will hit $5.97 billion, with US market penetration at 14.6%—and growing fast (source). On average, users save 10–12% on heating and 15% on cooling, adding up to about $131–$145 per year (source).
Adoption is expected to more than double by 2030, especially as more homeowners seek energy savings and remote control features. If you already invested in smart home automation, a smart thermostat is often the most cost-effective upgrade.
But success depends on proper installation and knowing your system—otherwise, you risk persistent compatibility headaches or missing out on savings.
Step-by-Step Guide to Smart Thermostat Installation
Installing a smart thermostat is within reach for most DIYers, but it pays to plan. Here’s what you should do:
- Check compatibility:
- Find your current thermostat model and look up your HVAC system type (forced air, heat pump, radiant, boiler, etc.).
- Check if there’s a C-wire (“common wire”)—most smart thermostats need one for power.
- Some models support C-wire adapter if your system lacks one (e.g., ecobee’s Power Extender Kit).
- Turn off power:
- Always cut power to your HVAC system before starting—use your breaker panel for safety.
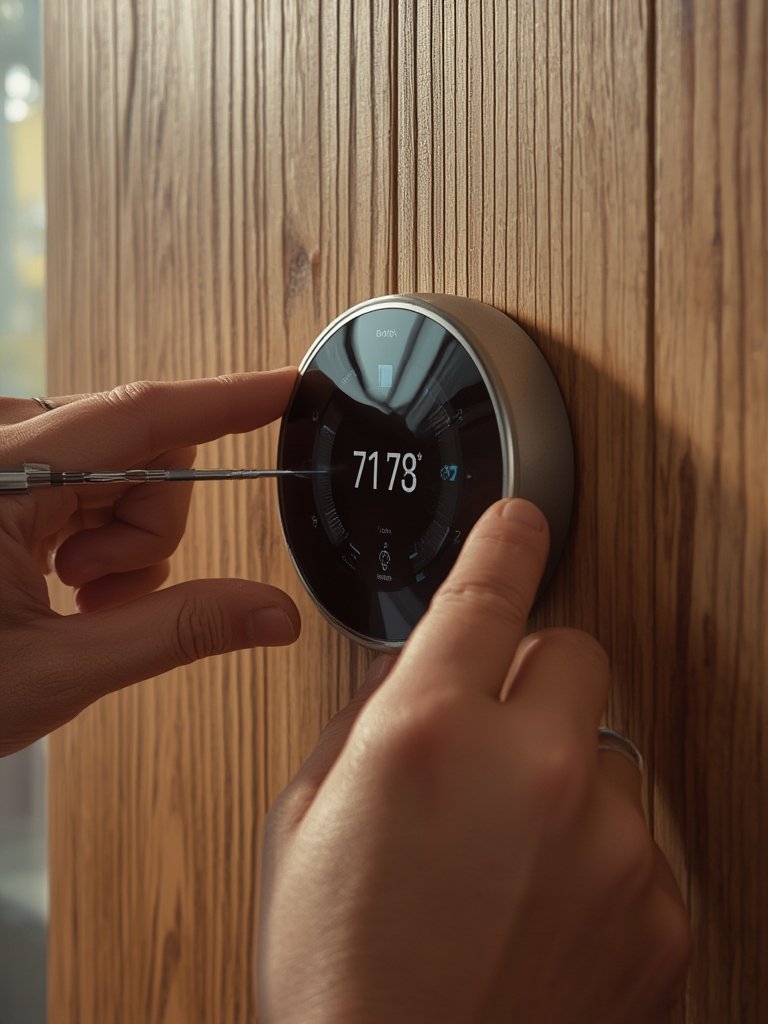
- Remove your old thermostat:
- Take photos of wiring before disconnecting anything.
- Label wires to match your new unit.
- Install the base plate:
- Mount the base securely to the wall. Ensure it’s level for accurate temperature readings.
- Connect wiring:
- Connect each wire to the corresponding terminal on your new thermostat as per its manual.
- If your system lacks a C-wire, use an included adapter (if provided) or consult an electrician.
- Attach the faceplate and restore power:
- Snap the thermostat onto the base and restore power at the breaker.
- Set up the smart features:
- Download the manufacturer’s app and connect to Wi-Fi.
- Follow guided setup, including system test, location setup, and schedule creation.
For renters or non-tech savvy homeowners, professional installation is still an option. HVAC pros can ensure wiring is correct and the thermostat is configured for your exact system.
A quick heads up: Replacement may trigger hidden costs (adapters, additional wiring, or even new control boards for older systems). Always confirm before buying your thermostat. If you are planning other upgrades, check out energy efficient home upgrades for more savings.
Advanced Analysis & Common Pitfalls
Smart thermostat installation can seem simple—until you hit incompatible wiring or unsupported HVAC modes. Here are issues even experienced DIYers often face:
- C-wire problems: Many homes lack a C-wire, especially if built before 2000. Some brands include adapters, but wiring errors can cause system failures.
- Wiring confusion: Mismatched wire labels or double wires can confuse even with instructions. Take plenty of photos and refer to your model’s online wiring guides.
- App setup failures: Wi-Fi setup sometimes fails due to router compatibility or security settings. Try initial setup close to your router, and ensure your network is 2.4GHz if required.
- System incompatibility: Some advanced features (like multi-zone, radiant, or line voltage systems) may not be supported by all thermostats—always check specs first.
- Hidden costs: Expect $30–$80 more if you need a professional C-wire install or extra wiring. Subscription fees for remote access or advanced learning features also add up for some brands.
- Warranty and support: DIY errors can void warranties if installation isn’t to spec. Brands vary in support—Google Nest and ecobee are praised for robust support, while others lag on app updates or trouble ticket response.
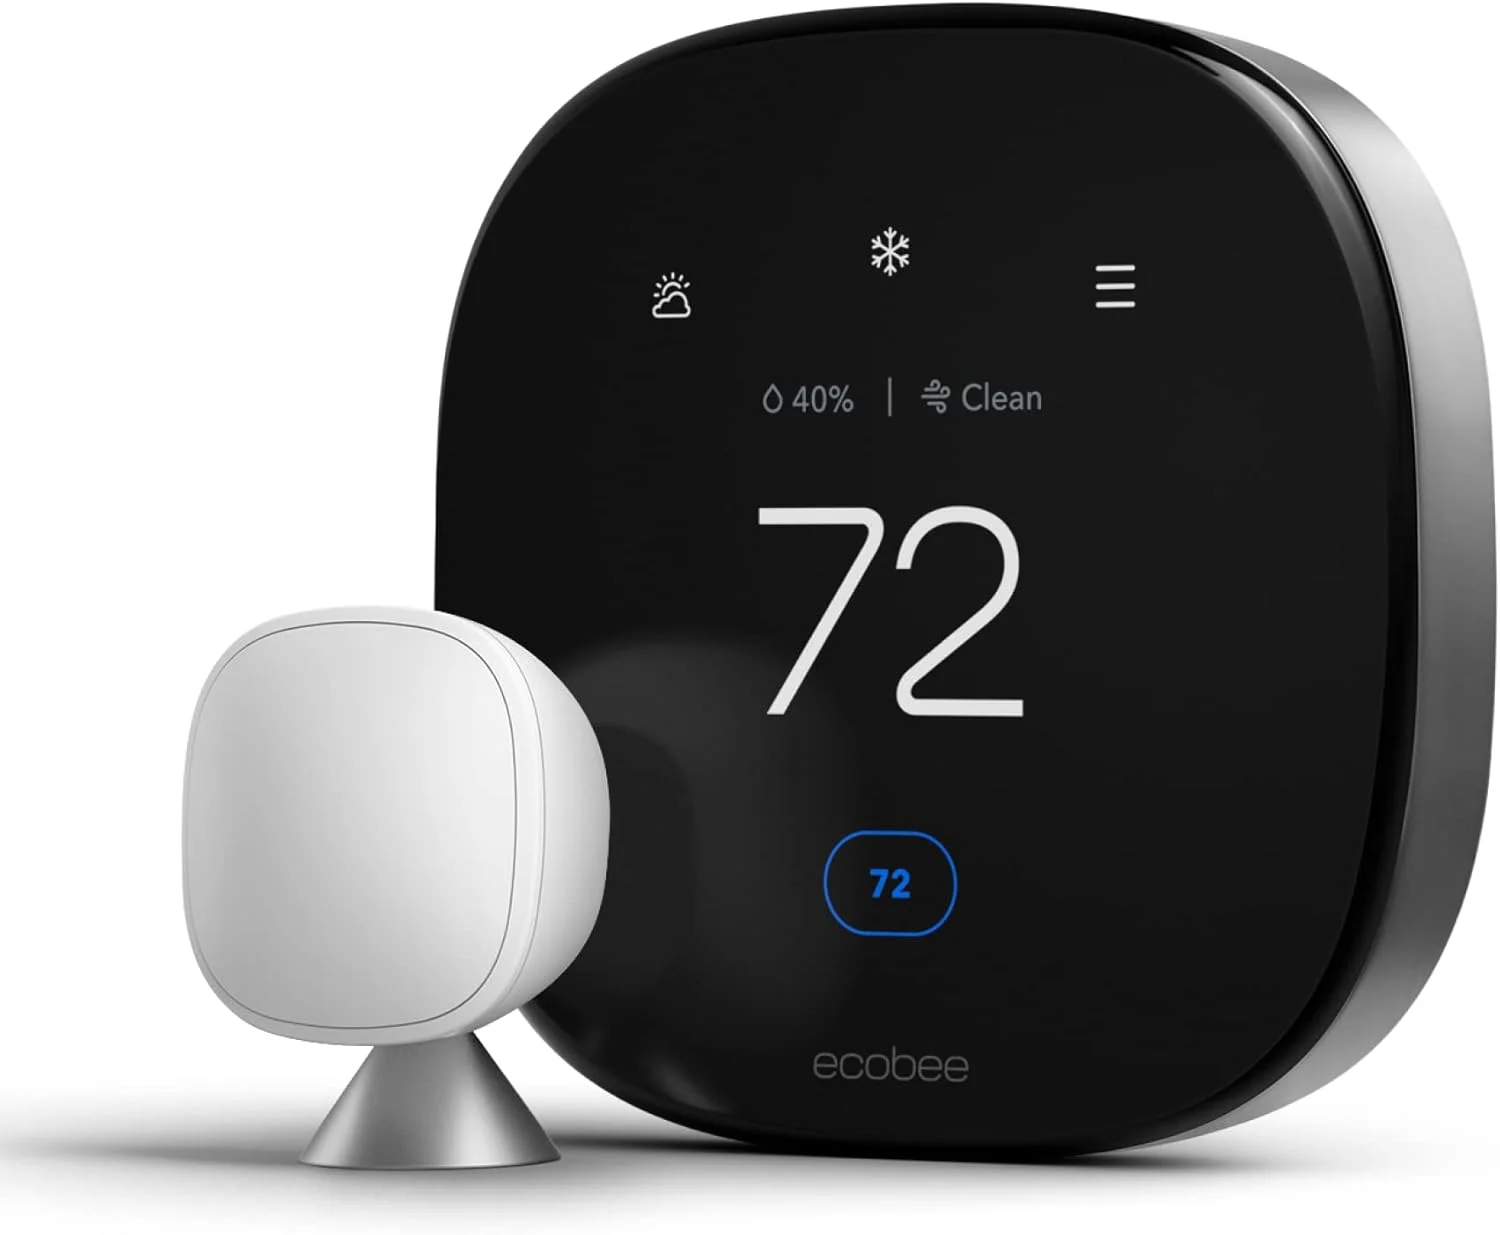
Here’s a quick comparison of the top brands and what sets them apart for homeowners:
| Brand | Key Features | Installation Ease | Ongoing Support |
|---|---|---|---|
| Google Nest | AI learning, geofencing, reliable scheduling, wide HVAC support | DIY-friendly, clear wiring tool, detailed instructions | Strong app, regular updates, 2-year warranty |
| Honeywell | Traditional + smart models, wide system compatibility, app control | Mid-tier; older models need C-wire, wiring not always intuitive | Decent support, but app can lag, warranty support varies |
| ecobee | Room sensors, voice assistant, power extender kit included | Excellent compatibility tools, C-wire adapter standard in box | Responsive customer support, app frequently updated |
| Amazon Smart Thermostat | Affordable, Alexa integration, simple controls | Very beginner-friendly, less HVAC flexibility than others | Basic support, app less feature-rich |
Before choosing, always check for regional incentives or rebates (for example, the EU offers retrofit incentives in France, Germany, Italy, while North America is driven by utility efficiency programs, per this research).
Looking for other ways to green your space? Explore eco-friendly home products that pair well with smart thermostats.
Bottom line: Plan for some troubleshooting, expect occasional hidden costs, and always double check your system’s compatibility before you buy. A little homework up front saves major hassles later.
Conclusion
Smart thermostat installation isn’t just a tech upgrade—it’s a practical home investment that pays off quickly if you plan carefully. Most users report measurable savings and greater comfort, but challenges like C-wire issues or system compatibility mean it pays to do your research first. Explore installation guides, compare brands, and ask your energy provider about rebates to maximize your investment in smart thermostat installation.
Ready to get started? Choose your model, review the wiring guides above, and enjoy more efficient, comfortable smart home living—today.
For more actionable home advice, check out our guides on energy upgrades, DIY renovations, or browse essential garden tools for every homeowner.
Frequently Asked Questions
Can I install a smart thermostat myself, or do I need a pro?
Most homeowners can install a smart thermostat themselves, especially on standard low voltage (24V) systems. But if your home lacks a C-wire, has older wiring, or uses a complex HVAC system, hiring a pro avoids headaches and ensures safety.
What if my HVAC system does not have a C-wire?
Some smart thermostats include a C-wire adapter or offer battery operation, but not all models support this. Check your chosen thermostat’s installation guide, or consider calling an electrician to add a C-wire if needed.
How much does smart thermostat installation typically cost?
DIY installation is basically free if compatible, apart from the thermostat price. Professional installs range from $90 to $250 depending on wiring needs and region. Watch out for hidden charges like wiring upgrades or recurring app subscriptions.
Will a smart thermostat work with my old furnace, boiler, or heat pump?
Most modern smart thermostats support common HVAC types, but some systems (such as millivolt heating or multi-stage heat pumps) may need advanced models or adapters. Always use manufacturer compatibility checkers before you buy.
Are there rebates or discounts for installing a smart thermostat?
Some regions and utilities offer cash rebates or discounts, especially for ENERGY STAR–rated devices. Check your utility’s website or the manufacturer’s rebate page for local offers.